Smaller images make websites load faster, emails send more easily and upload forms stop complaining. The goal is not the smallest possible file but the smallest file that still looks right where it will be seen. These five steps get most images there.
The useful takeaway
Resize to the size you actually display, choose a format that suits the content, use a moderate quality setting and compare before and after. Keep the original as your master copy.
1. Resize to the size you will actually display
Dimensions have the biggest effect on file size. A photo displayed 800 pixels wide on a web page does not need 4000 pixels. Halving width and height removes about three quarters of the pixels, often saving more than any quality setting.
Allow for high-density screens by exporting around twice the displayed width for important images. Never enlarge a small image; it adds bytes without adding detail.
2. Choose the right format for the content
The format should match what is in the image and where it is going.
| Content | Good choice | Why |
|---|---|---|
| Photographs | JPEG or WebP | Efficient lossy compression for natural images |
| Logos, icons, screenshots | PNG or WebP | Sharp edges and transparency |
| Modern websites | WebP or AVIF | Smaller files when the site supports them |
| Strict upload forms | JPEG | Accepted almost everywhere |
3. Use a moderate quality setting
For JPEG, WebP and AVIF, quality around 75 to 85 is usually hard to tell apart from the original at normal viewing size, while saving a lot of bytes. Very low settings create blocky skies, smeared skin and halos around text.
PikoZip’s Smart compression tries quality settings with detail checks, and Manual mode starts at 85 so you can adjust it yourself.
4. Use lossless only where it matters
Lossless PNG keeps every decoded pixel, which is right for logos, diagrams and screenshots with small text. For photographs it usually produces large files. If a PNG photo is too big, converting it to JPEG or WebP is often the most effective fix.
5. Compare before you replace the original
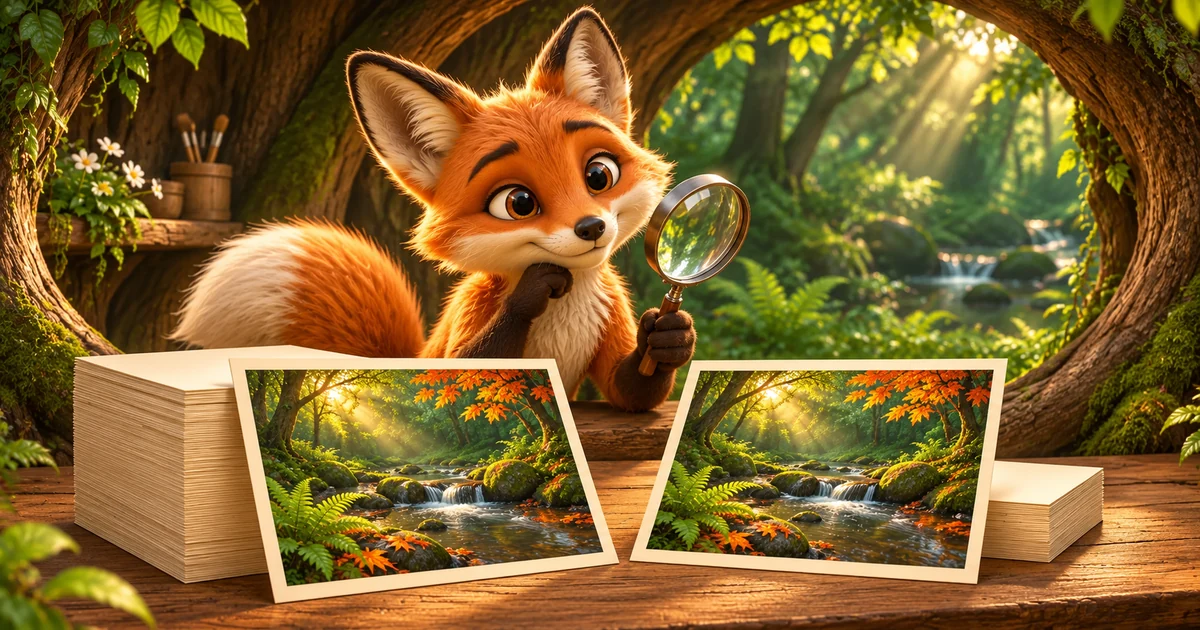
A saving percentage is not a quality score. Open the before-and-after comparison and zoom into faces, fine text, gradients and transparent edges. If something looks wrong, raise quality slightly or keep a larger width.
Already optimized images sometimes do not get smaller. When format and dimensions stay the same, PikoZip keeps the original if re-encoding would make it larger.
A quick checklist
Use this list for any batch of images before publishing.
- Keep the original master files.
- Resize to the real display size.
- Pick JPEG or WebP for photos, PNG or WebP for graphics.
- Start at quality 80 to 85.
- Compare details at 100% zoom.
- Check the final file size against any limit.
Make the next export a deliberate one.
Choose a representative image, check the actual result and keep your source master.
Compress your images